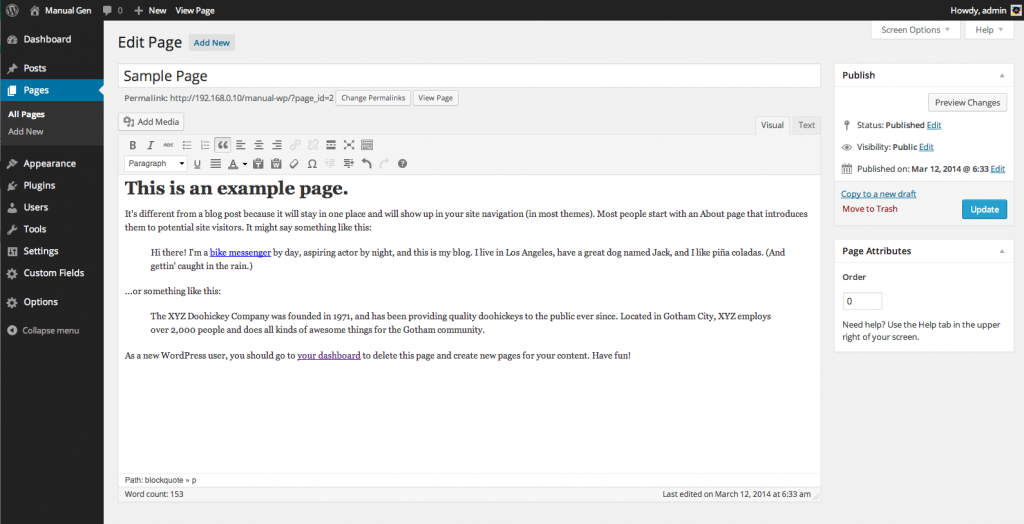
Page editing
To edit the content on most pages of your site, start with clicking the PAGES link in the admin menu. The menu will expand, showing you a list of your current pages and giving you the option to add a new page. Click the page you wish to edit in the list, this will bring up the edit screen. You use this editing window (the main feature of the image below) to edit the text for the page.
You can use bullet point lists, alignment, and a variety of other formatting features if you choose to, much like you do in Word.
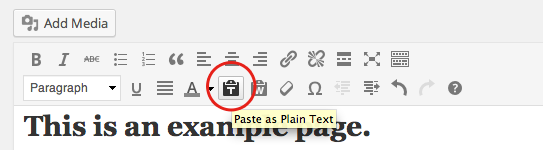
NOTE: You must be careful not to import styles when copying from documents like Word or other web sites. Your browser may try to import the styles making the site styling inconsistent. Please use the 'paste as plain text' button.
When you have finished updating and have checked your edit by pressing the PREVIEW CHANGES button, make sure you click the blue UPDATE button so your changes are saved. At that point those changes are live on the website for all to see.
Formatting your Text
When styling text in the editor it is best to use the standard HTML tags. These tags have been styled by us to suit your site design. In the editor they will look un-styled. This is to aid in clear content management. View the updated page to see final result. To select the style, highlight the text first and use the drop-down style selector or one of the editor buttons. Basic formats include:
- Headings
- Paragraphs ( normal text )
- Lists
- Quotes
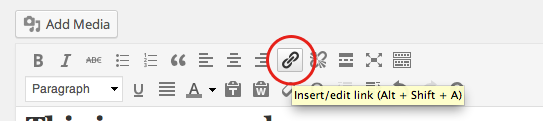
Adding a Link to Body Content
Start by highlighting the text or image you would like to add a link to. Click the link button (shown below) and a window will appear. Then simply enter the full URL (including prefix http//:) of the site/page you wish to link to and click insert. Always test the link!
To insert an email link, do the same but add mailto: to the front of the address. Eg. mailto:contact@thriveweb.com.au
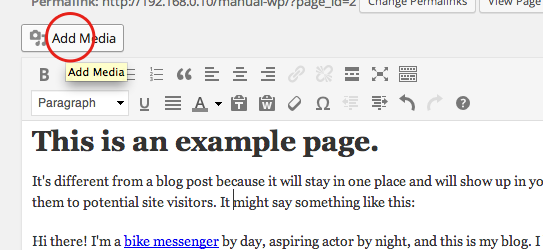
Adding a Picture in Page Content
Make sure your picture is a reasonable file size, normally not more than 2MB. Click ADD MEDIA button, and a screen allowing you to upload your photo will appear. You can drag and drop files into this window.
Or you can browse to where the picture is located, and select it. Wait for all the files to upload and save on the web server. Once it uploads, select the size and alignment options at the bottom, and click INSERT INTO POST.
How to Crop, Rotate, Scale, and Flip Images
Then once your image is uploaded, you just need to click on the little button that says Edit Image.
Just select the area you want to crop. Or click on the rotate / flipping icon. You can click to scale. You can even crop based on ratio. Pretty handy little feature right? You will be taken to an screen that looks like this: